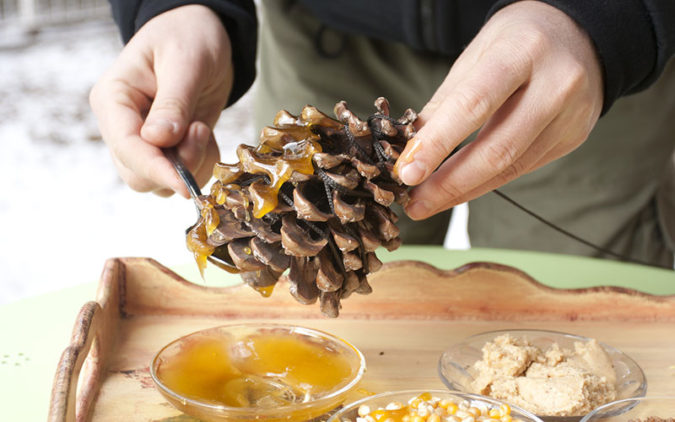
In the fall and winter, you can often find some stunning pine cones in your area. These small miracles of nature are endlessly fascinating for children, as they can imagine all sorts of ways to use them. Pine cones come in a variety of shapes, sizes and colors, making them ideal for a fall craft project: making a pine cone bird feeder! Plus, you get to enjoy time outside with your family as you’re gathering some medium to large pine cones.
Gather Your Materials
Putting together a pine cone bird feeder couldn’t be simpler and starts with pulling together a few simple materials. You’ll need:
- One or more pine cones
- Birdseed
- Peanut butter or solid vegetable shortening
- String
- Bendable pipe cleaners or string
- Butter knife
- 2 Paper plates
Once you have everything in place, you’re ready to start assembling your pine cone bird feeder.
Step-by-Step Instructions
First, you want to be sure that your pine cones have “bloomed”, because you’ll need them to be fully opened up. If your pine cones are still tightly closed up, try putting them into a slightly warm oven for about 10 minutes. When your pine cones are nice and opened up, be careful how you handle them. Some larger pine cones have a sharp edge that could stick you.
Next, you’ll tie your pipe cleaners or string and tie them to the top of the pine cones. Spread the peanut butter or vegetable shortening on the pine cones. Spread out some of the bird food on one of the paper plates, then roll the peanut-buttery pine cone in the birdseed into the plate.
You can make several of the pine cone bird feeders at once — you’ll entice even more birds to come for a snack! Hang your finished bird feeders outside where you have a good viewing spot.
At Creative Corner Child Care Center, we are firm believers in spending quality time with children doing fun and creative crafts and activities. Come and learn more about our exceptional caregivers and facility today.

